1. 搭建LNMP环境
具体搭建步骤参考之前的文章: 基于Rocky Linux 8.10系统使用源码搭建LNMP环境,附加安装SQLite
2. 部署Typecho博客
2.1 下载
创建工作区目录
mkdir -p /home/devuser/workspace/typecho
下载
wget -P /home/devuser/workspace/typecho https://github.com/typecho/typecho/releases/download/v1.2.1/typecho.zip
2.2 安装
创建网站根目录
sudo mkdir -p /var/www/html/typecho
解压博客程序到网站根目录
sudo unzip /home/devuser/workspace/typecho/typecho.zip -d /var/www/html/typecho/
修改网站目录所有者为 www-data,否则后续安装会出现各种权限问题
sudo chown -R www-data:www-data /var/www/html/typecho/
配置 nginx,先删除默认站点设置
sudo rm /usr/local/nginx/conf/vhosts/defautl.conf
创建博客站点配置文件
sudo vi /usr/local/nginx/conf/vhosts/typecho.conf
内容如下
server {
    listen       80;
    server_name  localhost;

    access_log   /usr/local/nginx/logs/typecho.access.log combined;

    root         /var/www/html/typecho;
    index        index.php index.html index.htm;

    if (!-e $request_filename) {
        rewrite ^(.*)$ /index.php$1 last;
    }

    location / {
        if (-f $request_filename/index.html){
            rewrite (.*) $1/index.html break;
        }
        if (-f $request_filename/index.php){
            rewrite (.*) $1/index.php;
        }
        if (!-f $request_filename){
            rewrite (.*) /index.php;
        }
    }

    location ~ .*\.php(\/.*)*$ {
        fastcgi_pass   127.0.0.1:9000;
        fastcgi_index  index.php;
        fastcgi_param  SCRIPT_FILENAME  $document_root$fastcgi_script_name;
        include        fastcgi_params;
    }
}
检测配置文件是否有无问题
sudo /usr/local/nginx/sbin/nginx -t
重新加载 nginx
sudo systemctl reload nginx.service
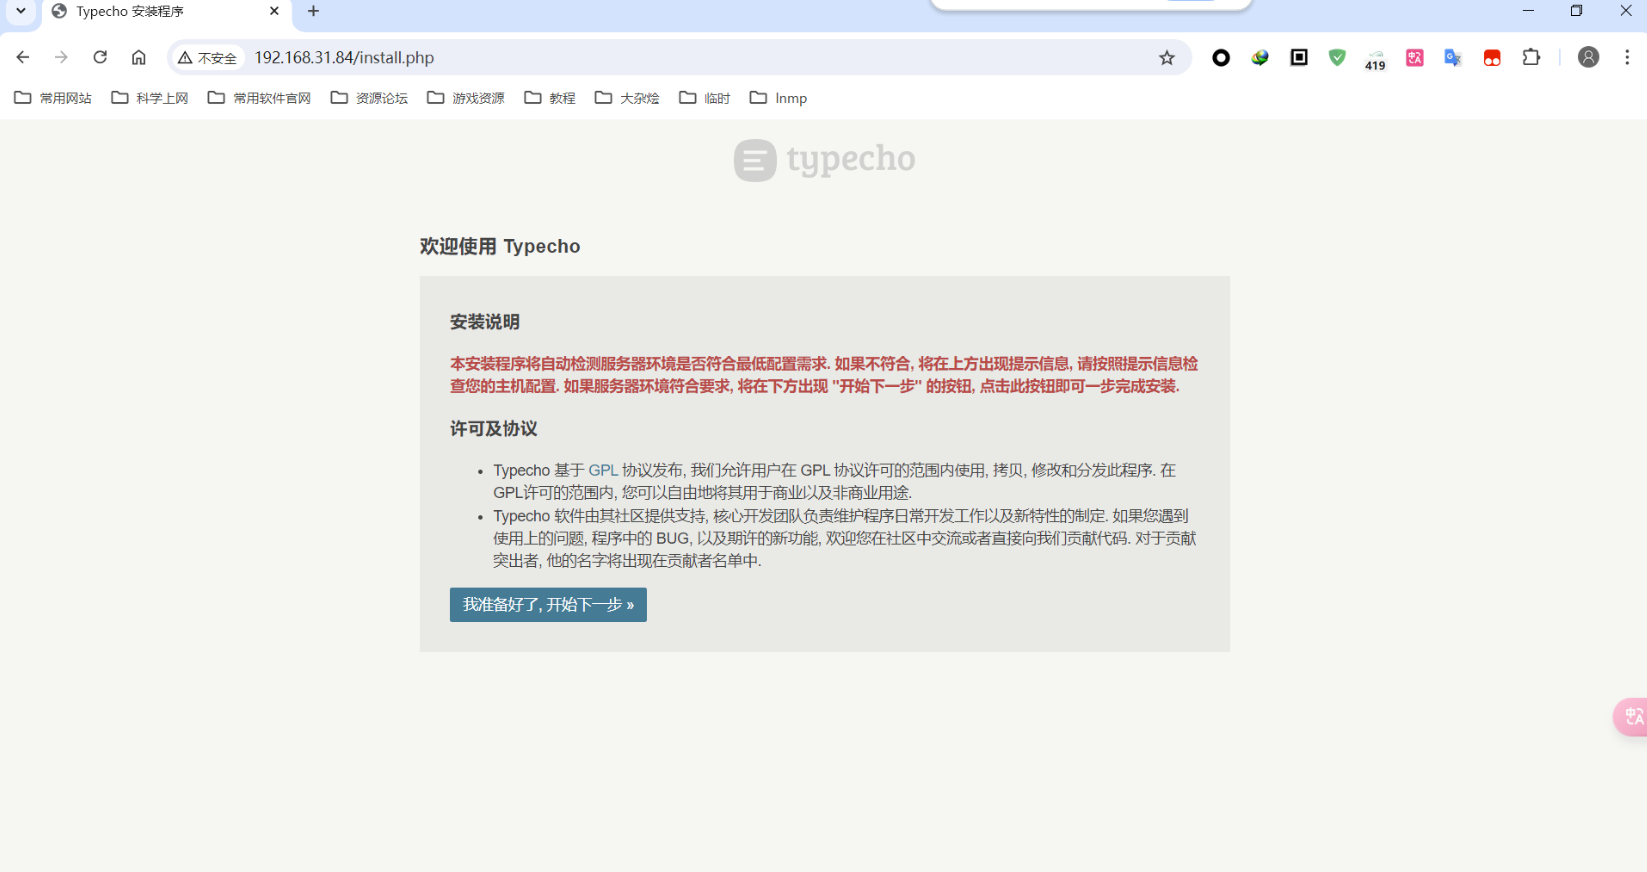
浏览器访问 http://192.168.31.84 (需替换自己实际服务器ip)出现如下安装页面即可开始安装 Typecho 博客程序
 点击开始下一步,出现如下页面
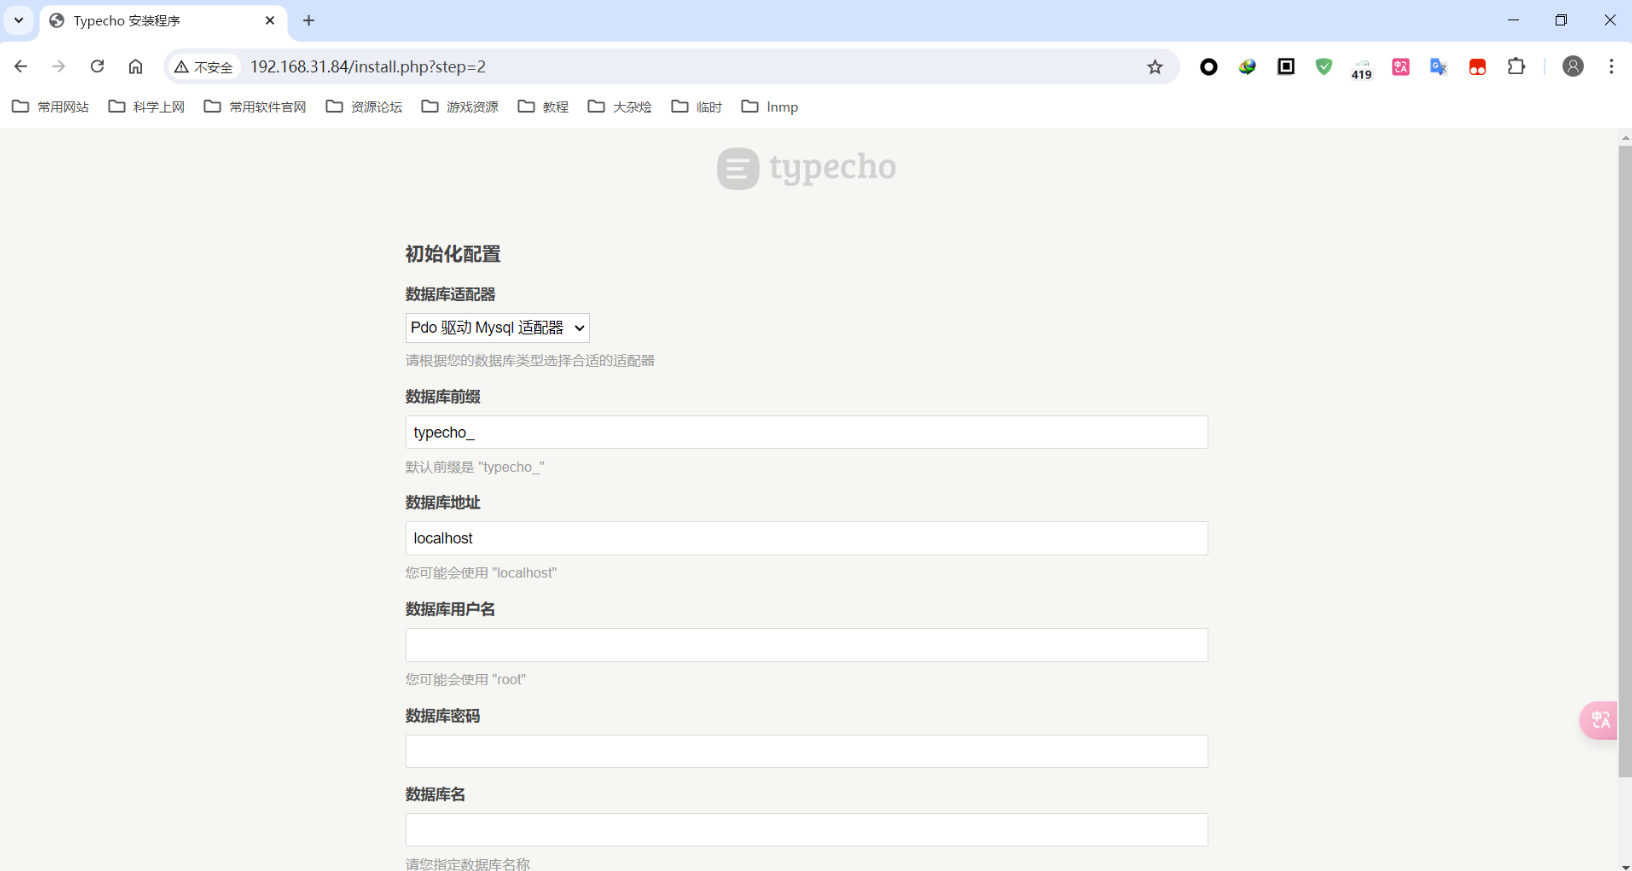 如果选用
如果选用 MySQL 数据库,可以参考 基于Rocky Linux 8.10系统使用源码搭建LNMP环境,附加安装SQLite 这一文章中使用 MySQL 创建测试数据库的例子来创建实际使用的数据库,然后将其参数依次填入表格即可(注意:实测数据库地址需要输入 127.0.0.1 方可正常使用)。这里为方便演示安装过程,我选择使用 SQLite 数据库做演示
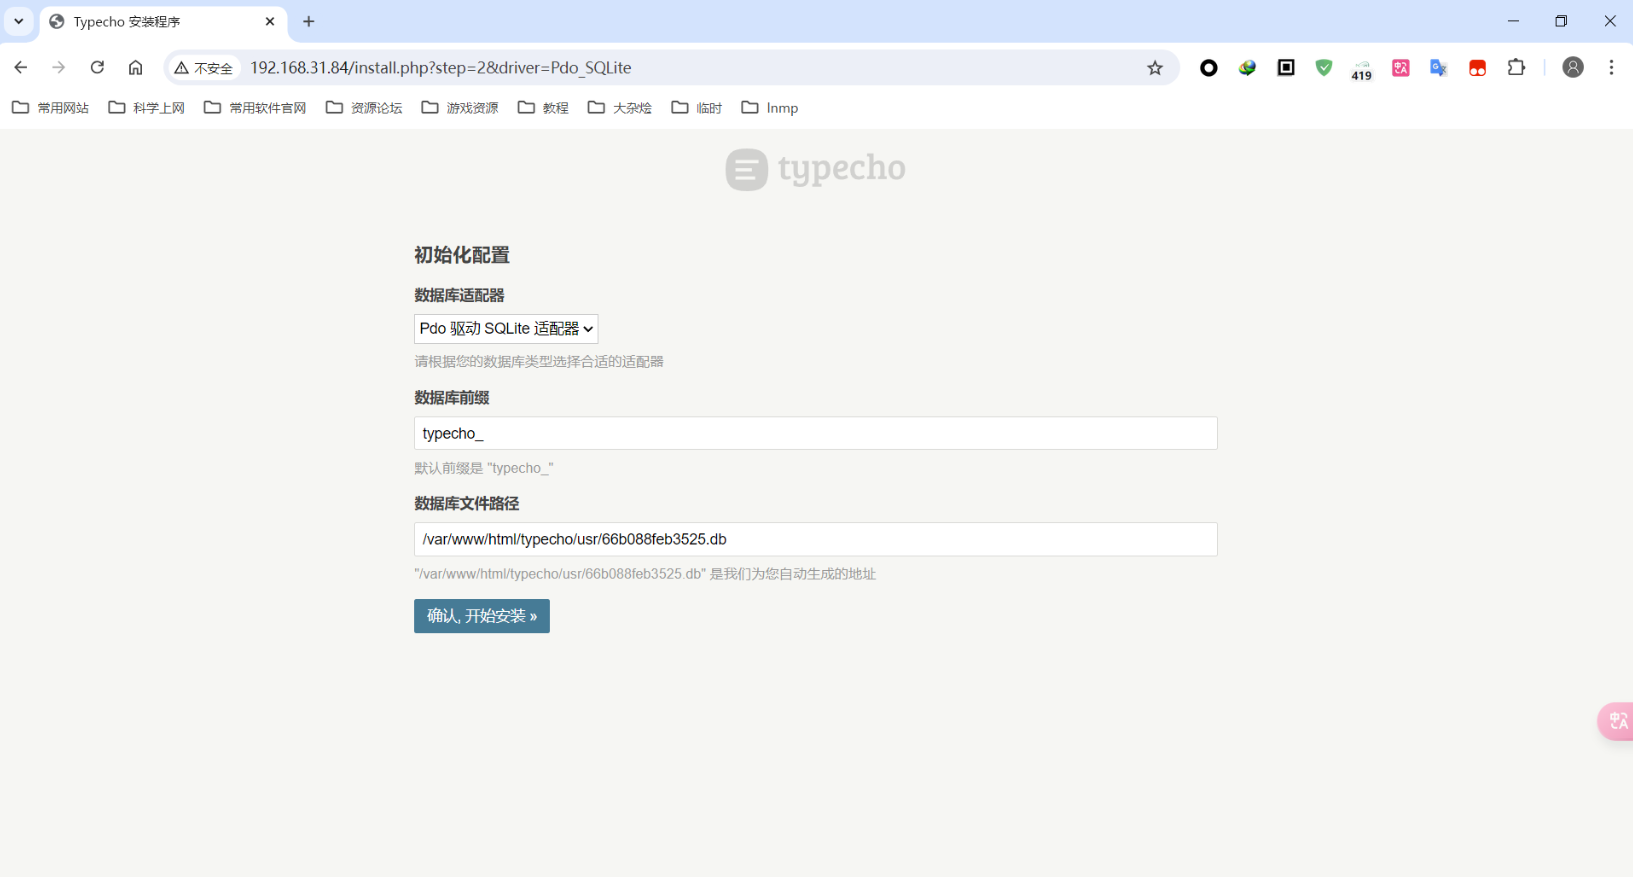 点击开始安装,出现如下页面
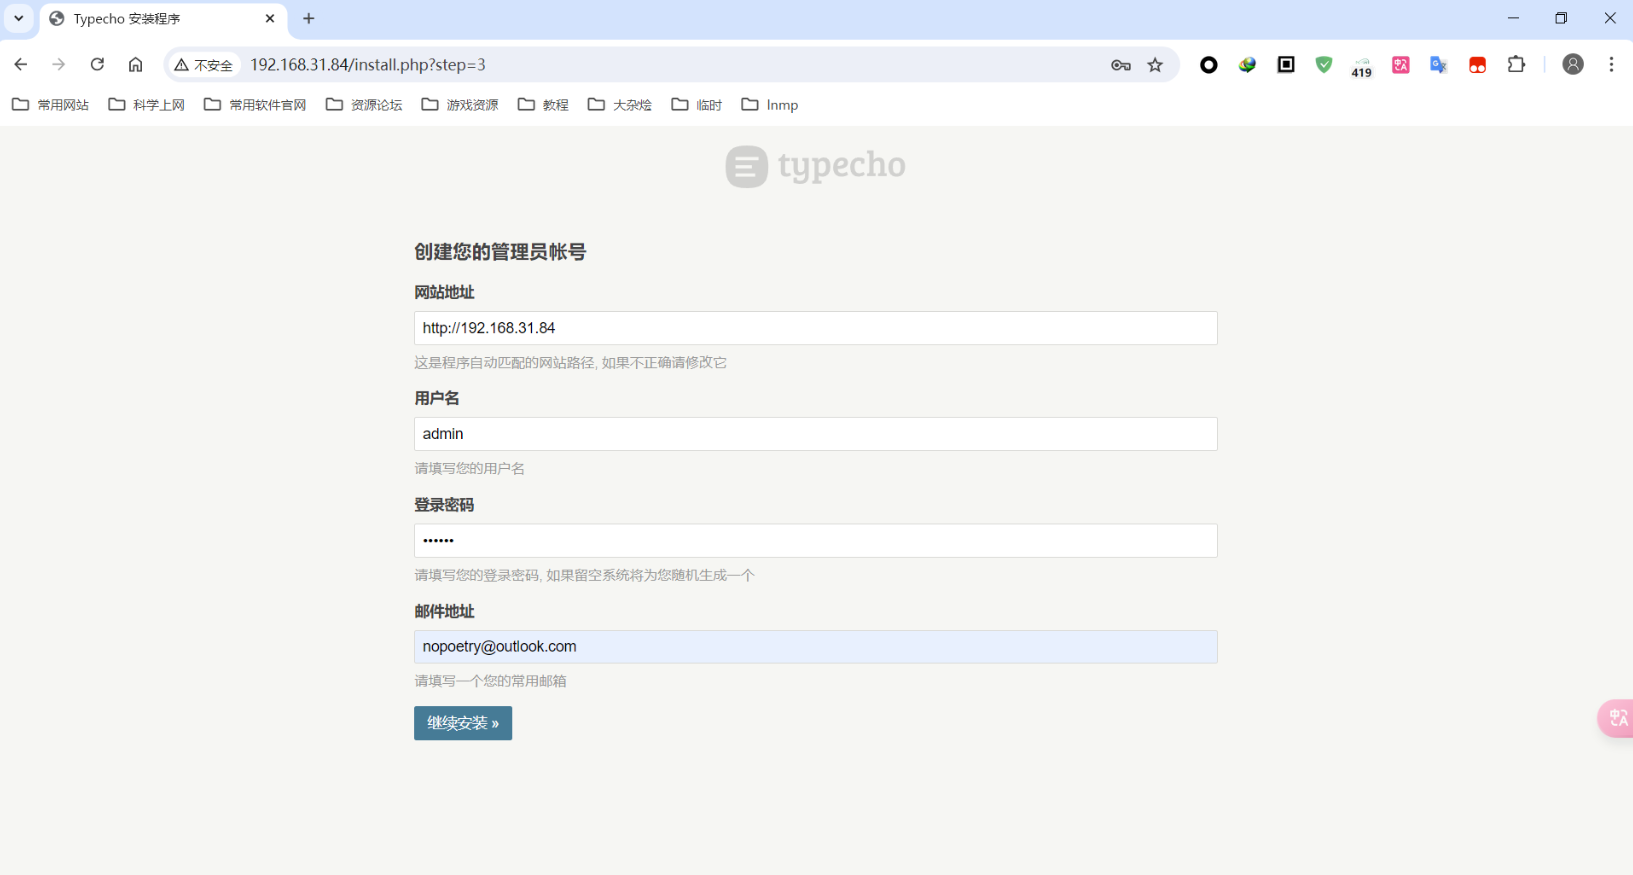
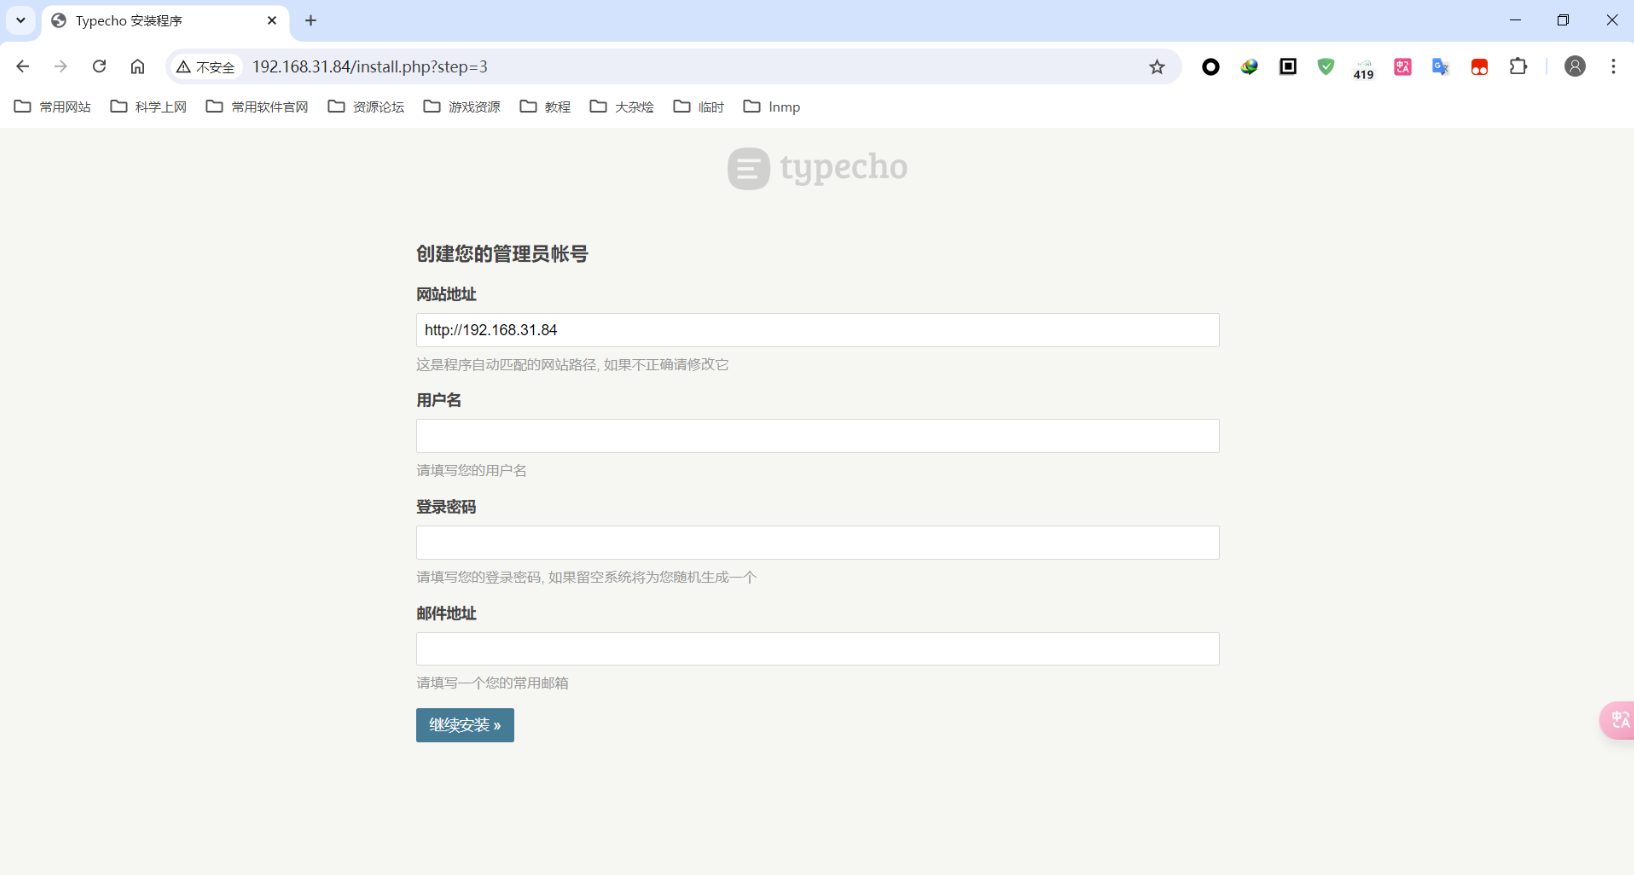 按实际情况填写后点击继续安装即可
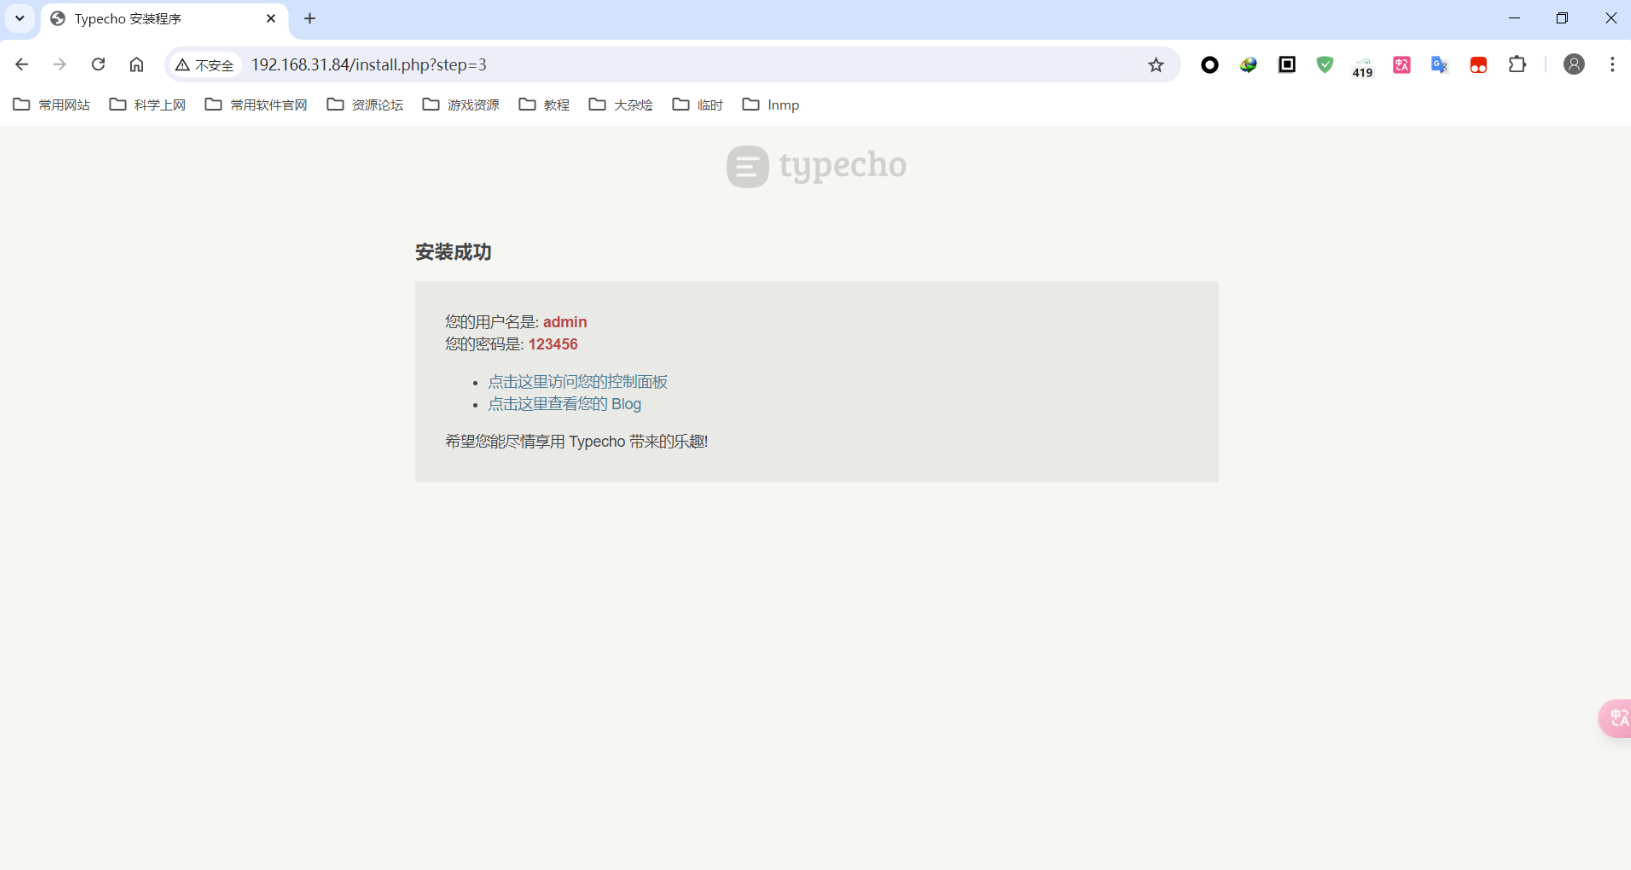
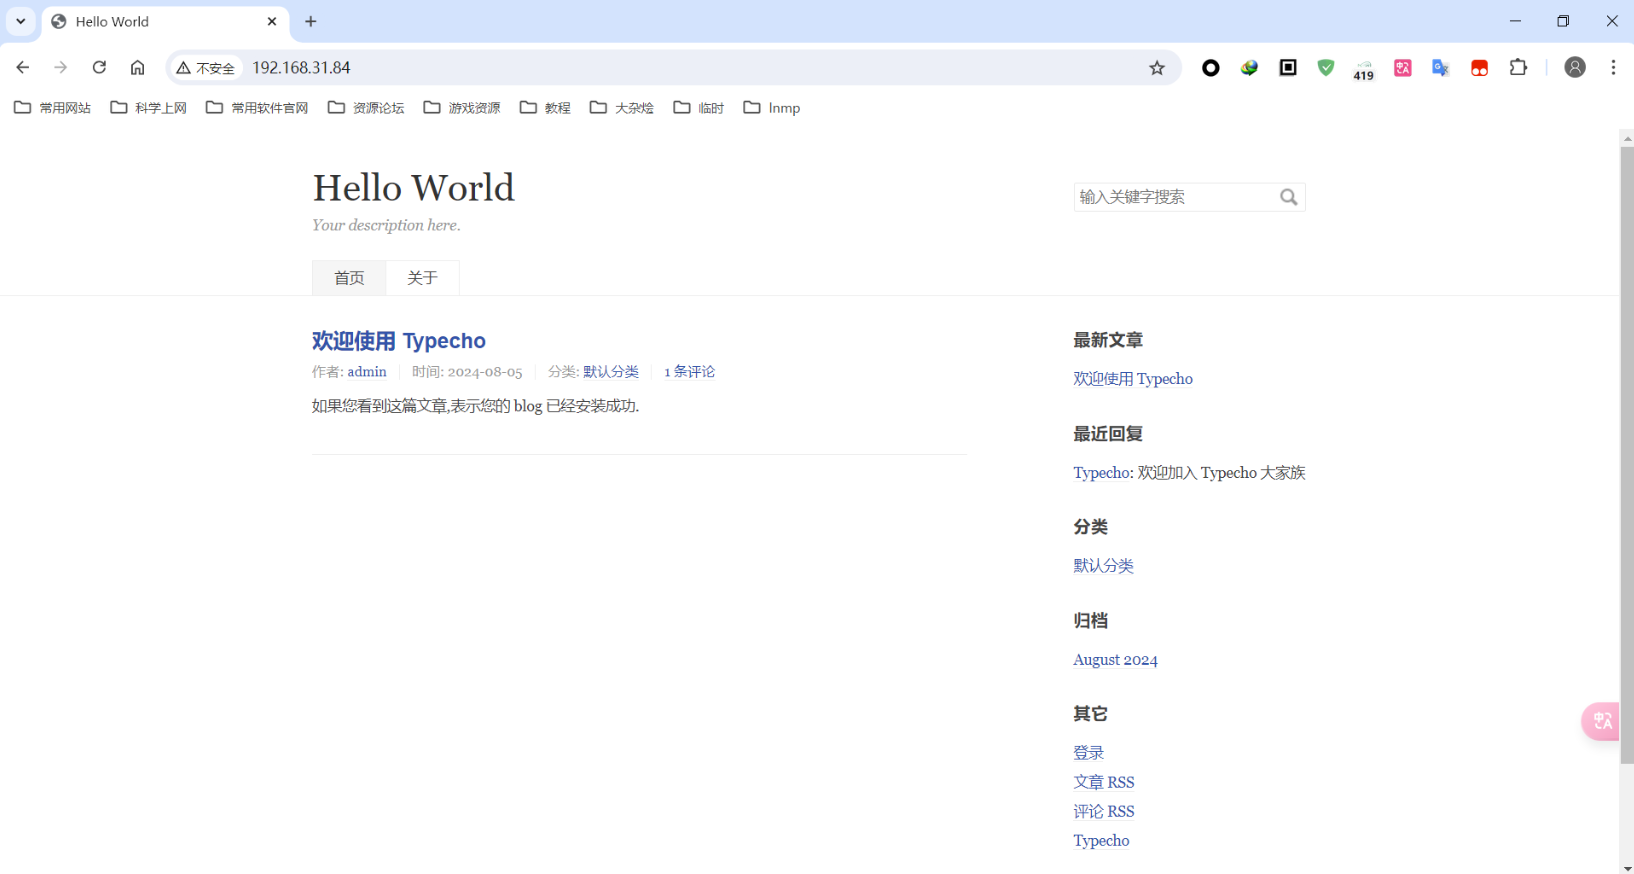
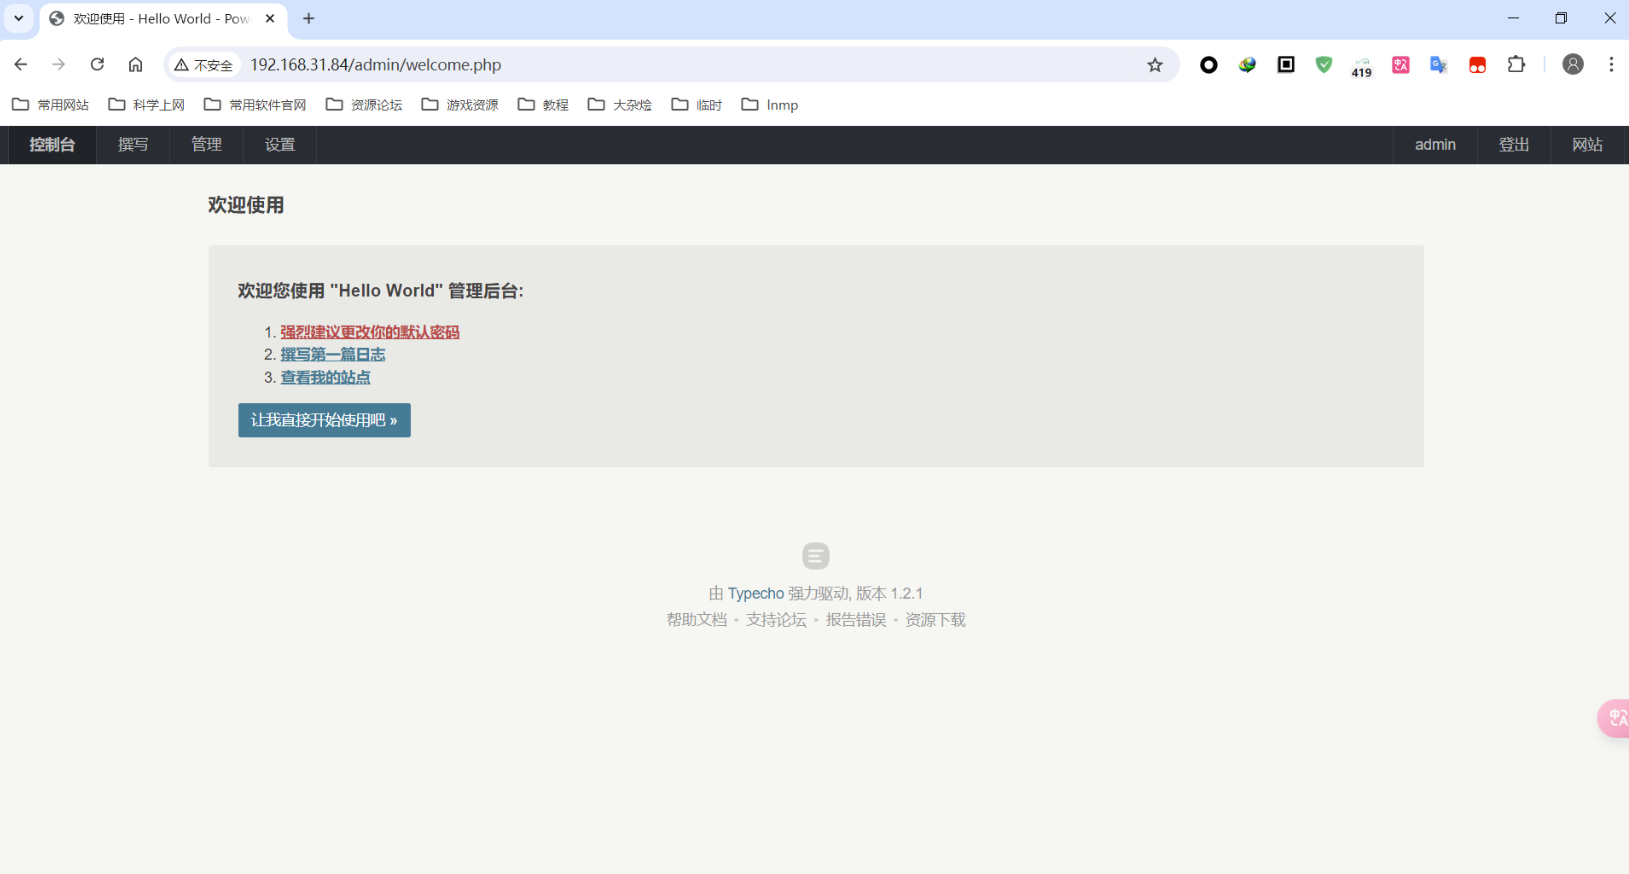
 出现如下页面即表示安装成功
3. 主题&插件
Joe主题
项目地址 https://github.com/HaoOuBa 克隆项目到博客主题目录下,再在后台启用即可
sudo git clone https://github.com/HaoOuBa/Joe.git /var/www/html/typecho/usr/themes/

# github有时连不上,已同步7.7.1版本到本人国内gitee仓库
# sudo git clone https://gitee.com/nopoetry/Joe /var/www/html/typecho/usr/themes/
安装后问题
- 首页出现
PHP错误提示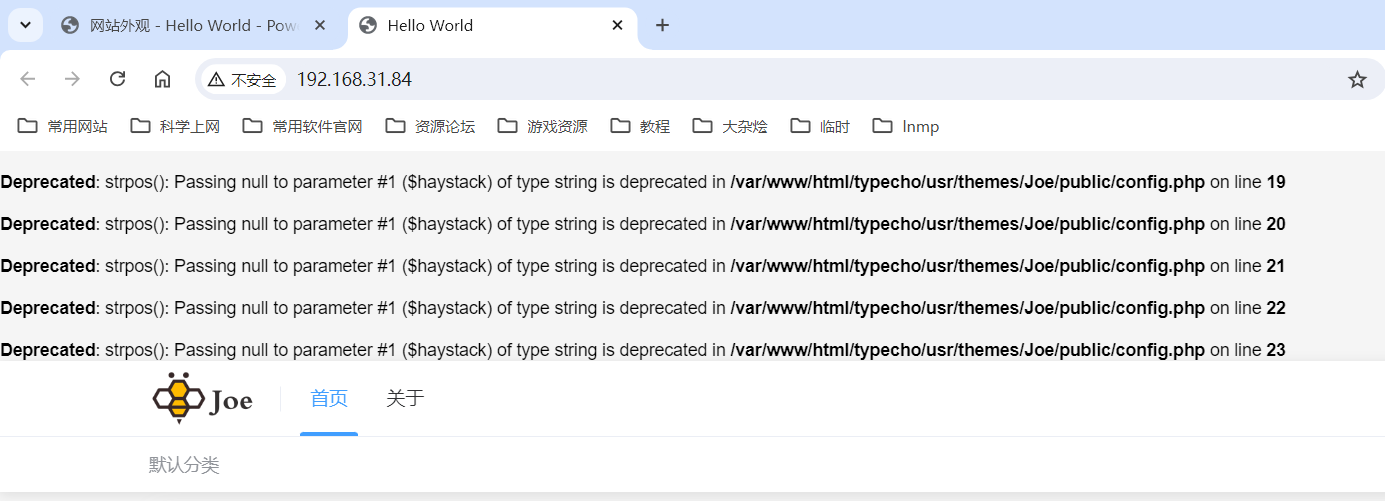
Deprecated: strpos(): Passing null to parameter #1 ($haystack) of type string is deprecated in /var/www/html/typecho/usr/themes/Joe/public/config.php on line 19

Deprecated: strpos(): Passing null to parameter #1 ($haystack) of type string is deprecated in /var/www/html/typecho/usr/themes/Joe/public/config.php on line 20

Deprecated: strpos(): Passing null to parameter #1 ($haystack) of type string is deprecated in /var/www/html/typecho/usr/themes/Joe/public/config.php on line 21

Deprecated: strpos(): Passing null to parameter #1 ($haystack) of type string is deprecated in /var/www/html/typecho/usr/themes/Joe/public/config.php on line 22

Deprecated: strpos(): Passing null to parameter #1 ($haystack) of type string is deprecated in /var/www/html/typecho/usr/themes/Joe/public/config.php on line 23
因为当前 LNMP 系统使用的是 PHP 8.2.22 版本,而 PHP 8.0 版本之后 strpos 函数第一个参数不允许传递 null,所以出现此信息。根据信息查看源码后做出如下优化即可解决
 编辑报错文件
sudo vi /var/www/html/typecho/usr/themes/Joe/public/config.php
找到对应部分做如下修改
<?php
$fontUrl = $this->options->JCustomFont;
if (isset($fontUrl) && !empty($fontUrl)) {
  if (strpos($fontUrl, 'woff2') !== false) $fontFormat = 'woff2';
  elseif (strpos($fontUrl, 'woff') !== false) $fontFormat = 'woff';
  elseif (strpos($fontUrl, 'ttf') !== false) $fontFormat = 'truetype';
  elseif (strpos($fontUrl, 'eot') !== false) $fontFormat = 'embedded-opentype';
  elseif (strpos($fontUrl, 'svg') !== false) $fontFormat = 'svg';
}
?>
- 评论出现
PHP错误提示
Warning: Trying to access array offset on value of type null in /var/www/html/typecho/usr/themes/Joe/core/function.php on line 261
因为当前搭建的 LNMP 环境使用的是 PHP 8.2.22 版本,而 PHP 8.0 版本之后不允许尝试访问类型为 null 的值的数组偏移量,所以出现此信息。根据信息查看源码后做出如下优化即可解决
 编辑报错文件
sudo vi /var/www/html/typecho/usr/themes/Joe/core/function.php
找到对应部分做如下修改
function _getParentReply($parent)
{
  if ($parent !== "0") {
    $db = Typecho_Db::get();
    $commentInfo = $db->fetchRow($db->select('author')->from('table.comments')->where('coid = ?', $parent));
    if (isset($commentInfo['author']) && !empty($commentInfo['author']))
      echo '<div class="parent"><span style="vertical-align: 1px;">@</span> ' . $commentInfo['author'] . '</div>';
  }
}
MenuTree目录插件,基于Joe主题安装左侧边栏目录
项目地址 https://github.com/typecho-fans/plugins/tree/master/MenuTree 下载地址 https://github.com/typecho-fans/plugins/releases/download/plugins-M_to_R/MenuTree.zip 使用方法:
- 下载本插件,放在
usr/plugins/目录中,确保文件夹名为MenuTree; - 激活插件,设置内可开关“嵌入模式”即文章标签输出,“独立模式”即模板函数输出;
- “嵌入模式”勾选时,编辑文章用按钮插入或手写
标签发布即可显示目录树; - “独立模式”勾选时,修改模板文件如
post.php中写入<?php $this->treeMenu(); ?>也可显示。 注意事项:
- 插件仅输出html不带css,请根据以下class命名自行处理样式:
    .index-menu    容器 div
    .index-menu-list    列表 ul
    .index-menu-item    列表项 li
    .index-menu-link    列表项链接 a
    .menu-target-fix {display:block; position:relative; top:-60px; //偏移量}    锚点跳转定位
结合Joe主题使用
创建 menutree.css 文件
sudo vi /var/www/html/typecho/usr/themes/Joe/assets/css/menutree.css
添加如下内容
.menutree {
    position:sticky;
    top:60px;
    width:15%;
    margin:15px 15px 15px 0px;
    /* 溢出内容添加滚动条 */
    overflow-y:auto;
    overflow-x:auto;
    background: var(--background);
}

/** 父元素<ul>与其中的子元素<li> **/
.index-menu-item {
    margin: 10px 0px;
}

.index-menu-list {
    margin: 5px 0px 5px 10px;
}

/** 所有<a>标签 **/
.index-menu-link{
    color: var(--main);
    transition:all 0.2s ease-in-out 0s;
    padding:5px 0px;
}

.index-menu-link:hover {
    color: var(--theme);
    text-shadow: var(--text-shadow);
    font-weight:500;
    background-color:#efefef;
}

/* 锚点跳转定位 */
.menu-target-fix {
    display: block;
    position: relative;
    /* 偏移量 */
    top:-100px;
}

/* 在宽度小于1000px的设备上隐藏短划线,以使目录的标题正常显示 */
@media screen and (max-width:1000px) {
    .joe_aside__item-title > .line {
        display:none;
    }
}

/* 在宽度小于800px的设备上隐藏目录侧边栏 */
@media screen and (max-width:800px) {
    .menutree{
        display:none;
    }
}
创建 menutree.js 文件
sudo vi /var/www/html/typecho/usr/themes/Joe/assets/js/menutree.js
添加如下内容
/* 获取渲染好的目录的高度 */
menuHeight = document.getElementsByClassName("index-menu")[0].offsetHeight;

/* 获取容器高度 */
containHeight = document.getElementsByClassName("joe_aside__item-contain")[0].offsetHeight;
/* 获取容器 title 的高度 */
titleHeight = document.getElementsByClassName("joe_aside__item-title")[0].offsetHeight;
/* 获取整个目录侧边栏对象 */
aside = document.getElementsByClassName("menutree")[0];

// 定义一个函数来修改目录的显示长度,从而使侧边栏能自适应目录的高度,避免出现大片空白部分
function changeMenuHeight(){
    /* 调整容器高度 */
    aside.style.height = titleHeight + containHeight + "px";
}

// 如果目录的高度小于500px,调用函数将目录修改为实际高度,反之则将侧边栏的高度固定为500px
if(menuHeight < 500){
    changeMenuHeight();
} else {
    aside.style.height = "500px";
}
修改 Joe 主题的 post.php 文件
在 <head> 与 </head> 标签中插入以下代码
<!-- 导入目录的css文件 -->
  <link rel="stylesheet" href="<?php $this->options->themeUrl('assets/css/menutree.css'); ?>">
在 <div class="joe_container"> 与 <div class="joe_main joe_post"> 标签中插入以下代码
      <!-- 文章目录代码 -->
      <section class="joe_aside__item menutree">
          <div class="joe_aside__item-title">
              <svg t="1642997936013" class="icon" viewBox="0 0 1024 1024" version="1.1" xmlns="http://www.w3.org/2000/svg" p-id="2169" width="128" height="128"><path d="M838.3 895.9H197.9c-53.9 0-97.7-43.8-97.7-97.7V236.7c0-53.9 43.8-97.7 97.7-97.7h640.3c53.9 0 97.7 43.8 97.7 97.7v561.4c0.1 53.9-43.7 97.8-97.6 97.8zM197.9 203.8c-18.1 0-32.9 14.8-32.9 32.9v561.4c0 18.1 14.8 32.9 32.9 32.9h640.3c18.1 0 32.9-14.8 32.9-32.9V236.7c0-18.1-14.8-32.9-32.9-32.9H197.9z" fill="#666666" p-id="2170"></path><path d="M695.1 455.2H341.2c-17.9 0-32.4-14.5-32.4-32.4s14.5-32.4 32.4-32.4h353.9c17.9 0 32.4 14.5 32.4 32.4s-14.5 32.4-32.4 32.4zM695.1 578.2H341.2c-17.9 0-32.4-14.5-32.4-32.4s14.5-32.4 32.4-32.4h353.9c17.9 0 32.4 14.5 32.4 32.4s-14.5 32.4-32.4 32.4zM695.1 701.2H341.2c-17.9 0-32.4-14.5-32.4-32.4s14.5-32.4 32.4-32.4h353.9c17.9 0 32.4 14.5 32.4 32.4s-14.5 32.4-32.4 32.4zM379.1 281.1c-17.9 0-32.4-14.5-32.4-32.4V115.4c0-17.9 14.5-32.4 32.4-32.4s32.4 14.5 32.4 32.4v133.2c0 17.9-14.5 32.5-32.4 32.5zM657.1 281.1c-17.9 0-32.4-14.5-32.4-32.4V115.4c0-17.9 14.5-32.4 32.4-32.4s32.4 14.5 32.4 32.4v133.2c0 17.9-14.5 32.5-32.4 32.5z" fill="#666666" p-id="2171"></path></svg>
              <span class="text">目录</span>
              <span class="line"></span>
          </div>
          <div class="joe_aside__item-contain">
              <?php $this->treeMenu(); ?>
          </div>
      </section>
      <!-- 导入的js文件,必须在这里导入,否则不生效 -->
      <script src="<?php $this->options->themeUrl('assets/js/menutree.js'); ?>"></script>
基于Prism的代码高亮(仅默认主题适用以下方法)
Prism 是一个轻量级,可扩展的语法着色工具。非常易于使用,只需要插入一个 CSS 和 JS 文件即可。
项目地址
https://github.com/PrismJS/prism
主页
https://prismjs.com/
下载地址
https://prismjs.com/download.html
以下为官网下载好的文件,主题为默认,语言选择所有,插件选择显示行号、显示语言名字、代码复制
prism.js
prism.css
使用方式
下载上面两个文件并放到网站主题根目录下,这里演示的目录为 /var/www/html/typecho/usr/themes/default/
修改主题的 header.php 文件
sudo vi /var/www/html/typecho/usr/themes/default/header.php
在 <head> 与 </head> 标签中插入如下代码
<link rel="stylesheet" href="<?php $this->options->themeUrl('prism.css');?>">
<script src="<?php $this->options->themeUrl('prism.js');?>"></script>
在 <body> 标签中修改为如下代码以支持行号显示:
<body class="line-numbers">
ShortLinks短链
Typecho 外链转内链插件,支持正文和评论者链接。
项目地址
https://github.com/benzBrake/ShortLinks
使用方式
克隆项目到博客插件目录再在博客后台启用即可
sudo git clone https://github.com/benzBrake/ShortLinks.git /var/www/html/typecho/usr/plugins/
FontLibs字体设置
项目地址 https://github.com/xxhzm/FontLibs 下载地址 https://github.com/xxhzm/FontLibs/archive/refs/tags/1.0.3.zip 下载到博客插件目录再在博客后台启用即可


评论 (0)